|
Every year, I create two calendars that I use EVERY DAY! Since it takes some time to set up, I always share so others don't have to do the same thing. #SharingIsCaring If you are interested, click on the images below to make a copy for yourself! If you find it useful, please leave a comment or share this post on social media. 😀 🗓️ Group Planning CalendarMy team uses this calendar to keep track of all our group activities, especially since we are in different schools every day. We also have a technology truck that is scheduled on this document so we know where it is, who is on it, and what days are still open if someone wants to book the truck. The checkout list on the right is so we know what tech items are out in the schools. C lick below for a FREE Google Sheets template to use with your team or school! 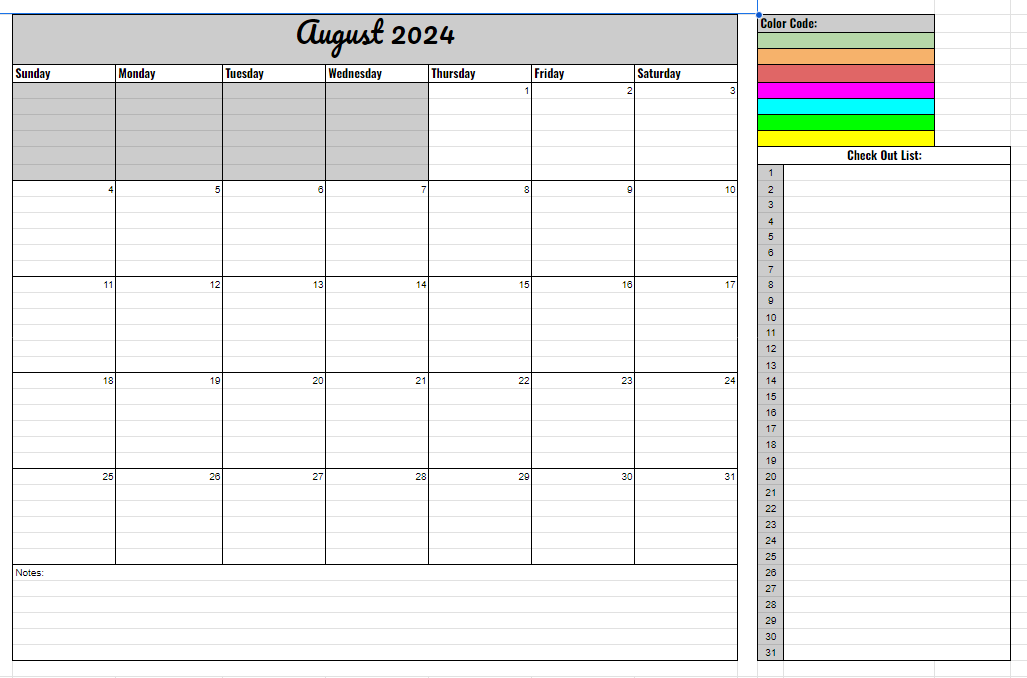 📋 Daily Tracker for Instructional Coaches or EducatorsI use this tracker to plan out my days on a monthly basis. Once I have details finalized, I will also put it on my Outlook calendar. It may seem redundant, but I like to be able to make tentative plans for the entire month on one "page" so it's easy to see open spots. It's also really nice if you need to see how you are spending your time or need an accountability document to share with administration or anyone who you report to. Click the image below for a FREE template! Here's an example of how I use mine to plan my days, keep track of mileage, and get to links quickly. Reach out if you have any questions or need ideas! I hope you can use the templates! I just can't bring myself to make educators pay for things that I'm using myself, so enjoy and share this post with anyone you think can benefit! You can also check out the original blog post here (the why behind the planner). Happy Planning! ~Pam
1 Comment
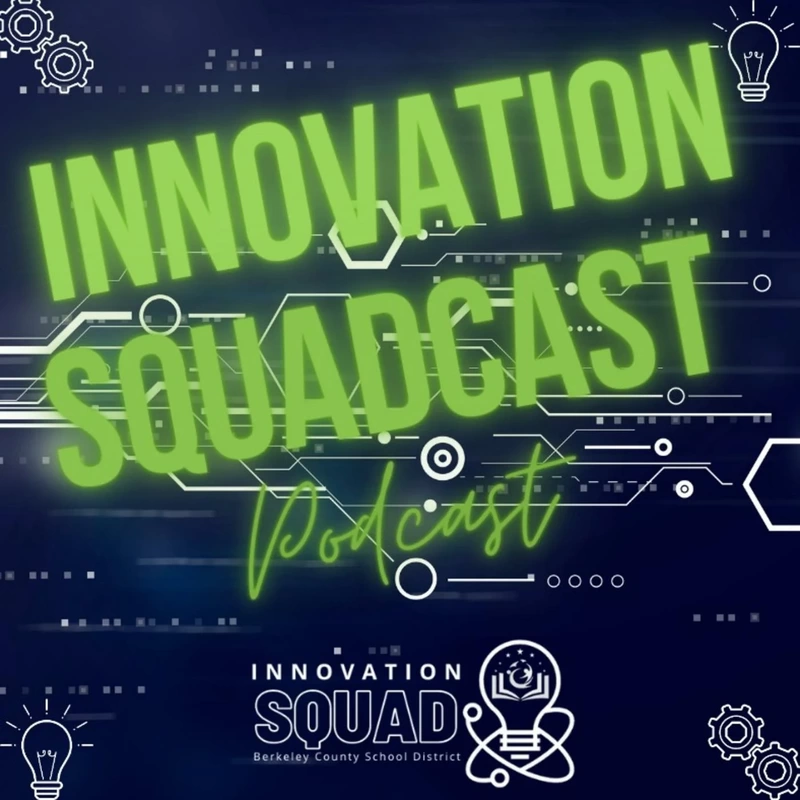
Introducing the Innovation Squad Podcast!
The BCSD Innovation Squadcast Podcast is a platform where educators and innovators come together to discuss and explore various topics related to education, technology, and innovation. The podcast is led by Innovative Learning Coordinators in the district, featuring conversations with experts in the field, sharing insights, strategies, and best practices to enhance teaching and learning experiences. Topics often include educational technology integration, innovative teaching methods, student engagement, professional development, and more. Tune in to gain valuable knowledge and inspiration to transform your educational practices.
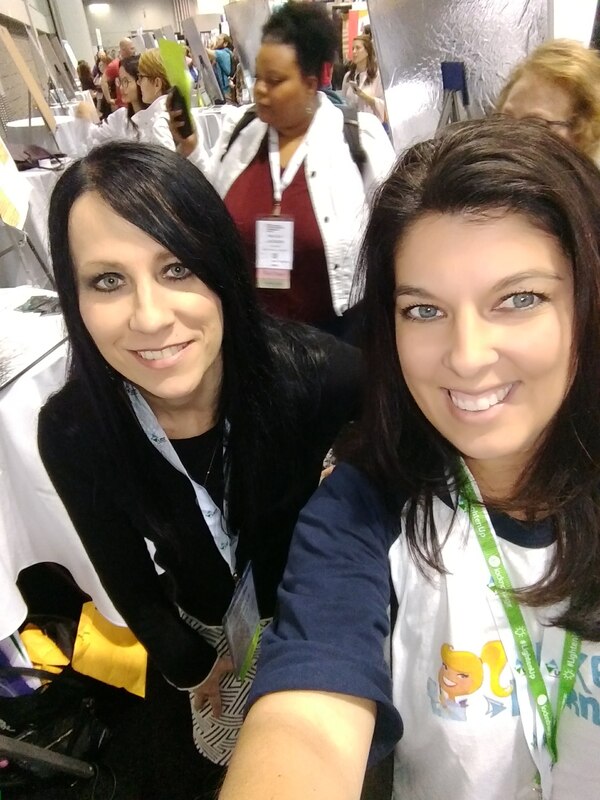
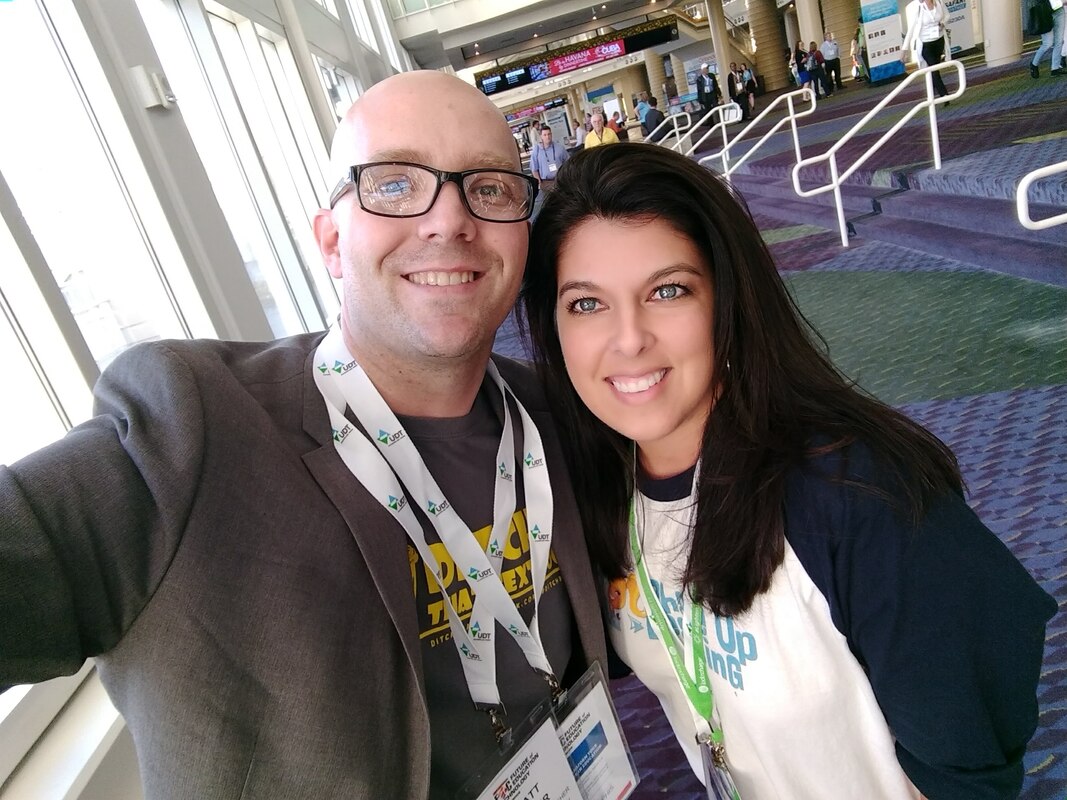
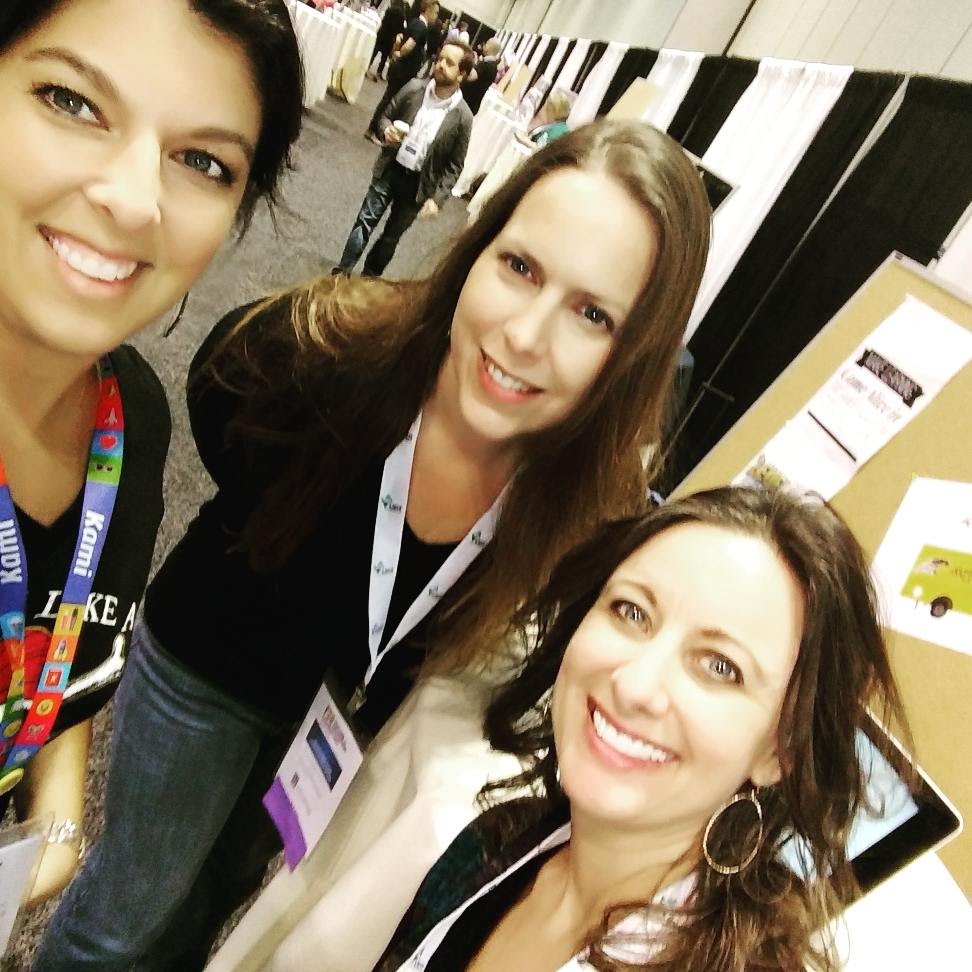
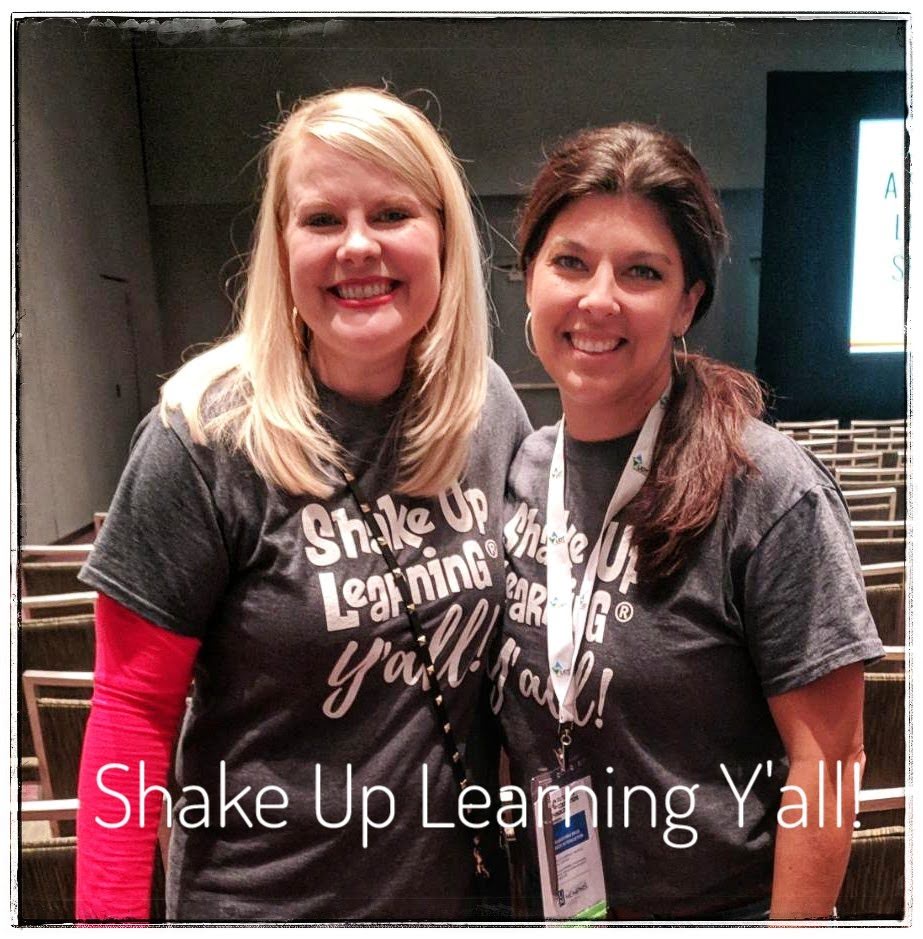
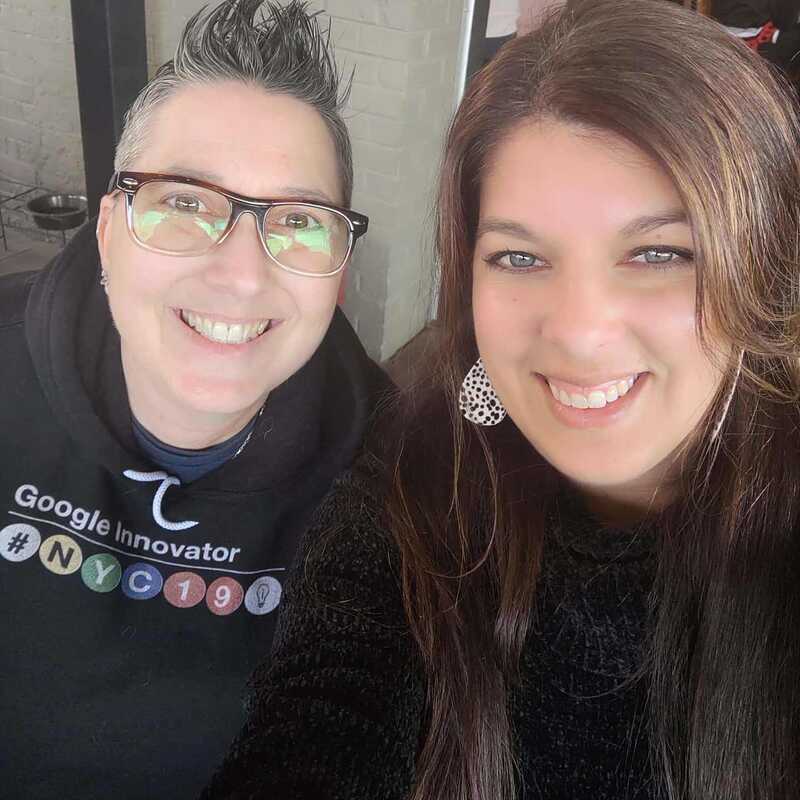
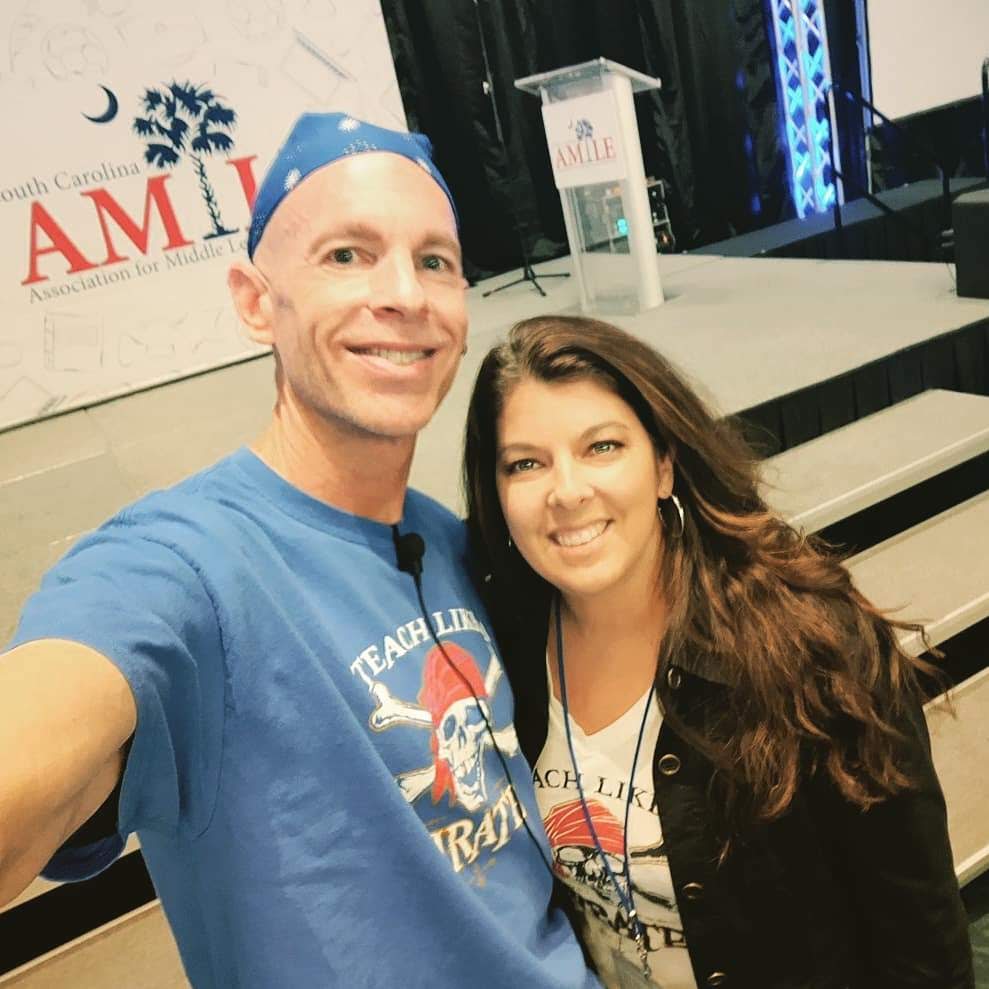
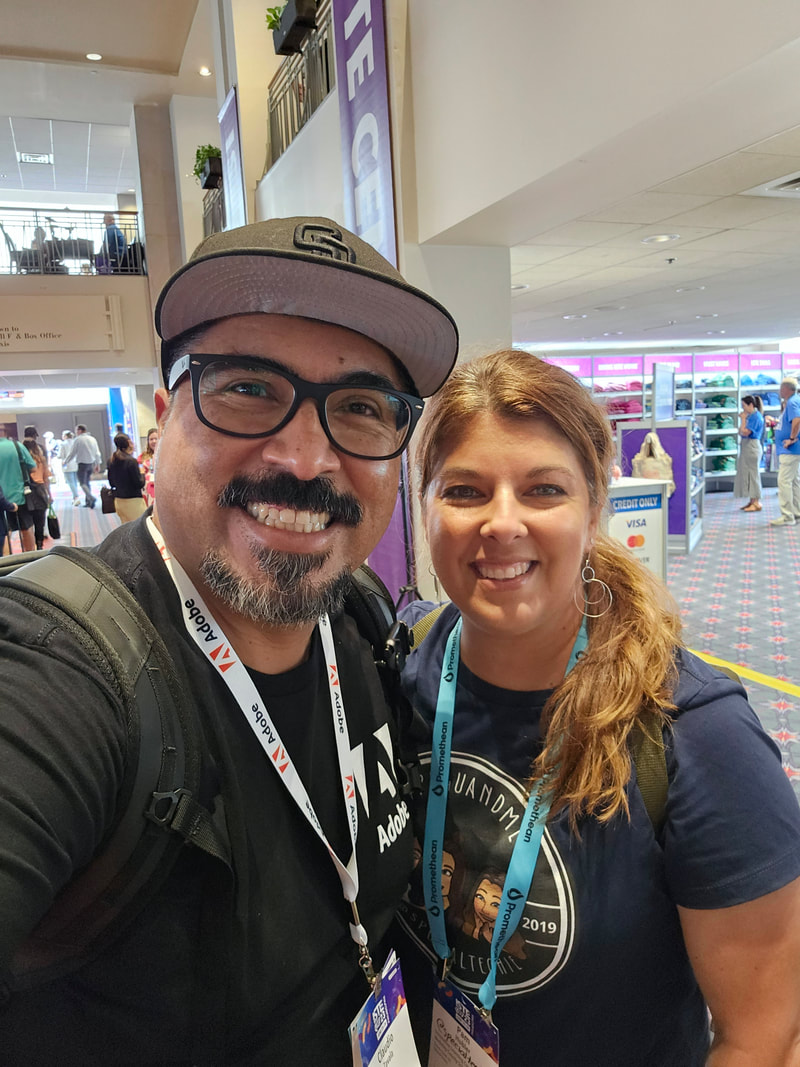
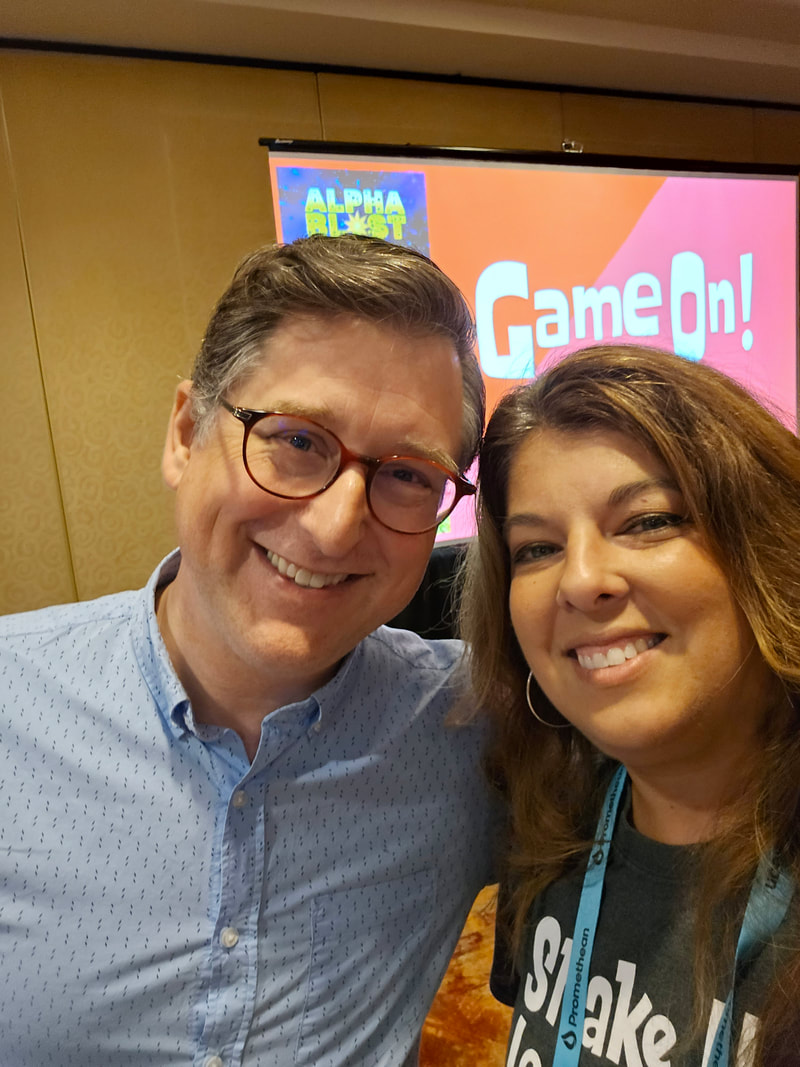
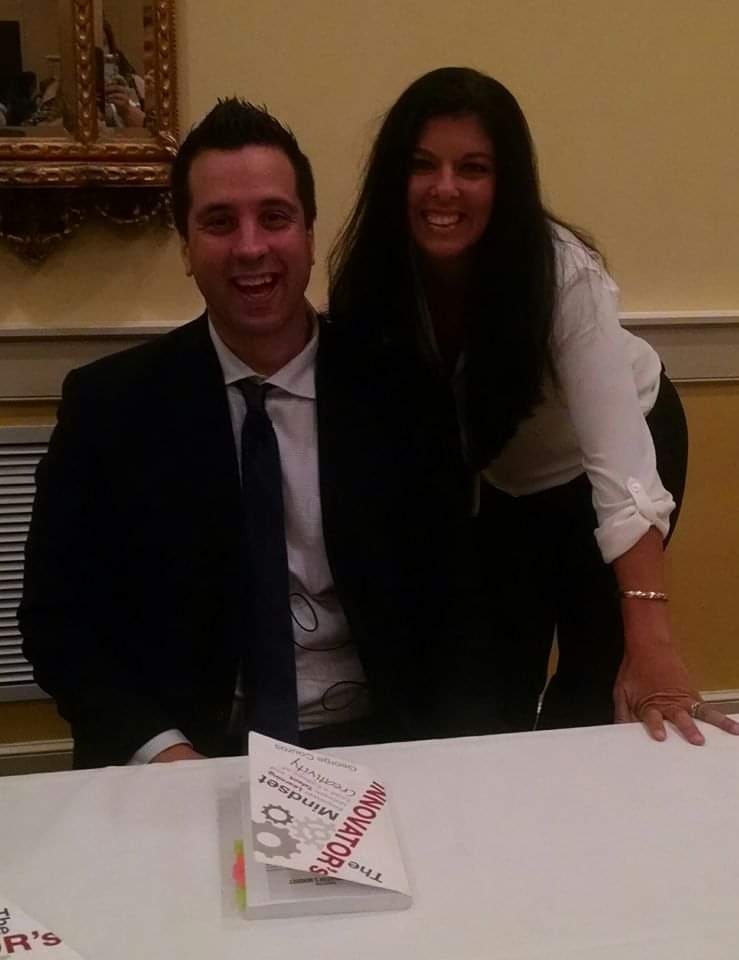
Check it out here...We are always looking for guests, so please reach out if you'd like to join the conversation on any given Monday! BCSD Educators can get professional development credit for listening, so we try to keep the content new and relevant! Give it a listen and let us know what you think! If you enjoy the podcast, please share it with an educator friend. Happy listening! 1. The obvious... Technology! 💻I have always been an "early adopter" when it comes to technology integration. That being said, I was always an obvious pick when my school was looking for someone to send to tech conferences so new ideas could be introduced to the staff. I realized at my first technology conference (FETC in the early 2000's) that I loved learning new things, then teaching others in the hopes that they would be as excited as I was! I still feel the same way 27 years later! Of course, there are a lot more options now then there was in 1997 when I started teaching. Even if you go to a conference with a high skill level in Instructional Technology, you will always find new tips, ideas, and tools that are worth trying out with the teachers and students in your school! 2. Connections 👥If I could have two #1's, I would say Technology and People are at the same ranking! That may just be the extrovert in me talking though. 😜 The connections you make at conferences is awesome! You end up in a place where everyone has at least 2 things in common... education and the love of technology. I've always enjoyed talking to people in the exhibit halls, during sessions, and at social events held during the conference. Once I joined Twitter (now X) back in 2014, conferences changed forever! Social media has made conferences huge social networking and sharing events. I would post a picture or share an aha moment from a session using the event hashtag and realized that I'm sitting in the same room as someone that I follow - instant friends! Then you meet up with the same people from year to year like you've been friends forever. Now, I know "friends" is a strong word for someone you have just met, but the connections you make at these events are invaluable when it comes to being an educator and life long learner. Being an educator can be a lonely job, but that world is made so much smaller when you know exactly who to reach out to (thanks to social media) when you need ideas! Another perk is to meet the authors that inspire you to be a better educator! Below are all of the ones I've met over the years. Every one of them have made my life as an educator better in one way or another! 3. Inspiration🥰When I go to a conference, I am always inspired to try new things and change my mindset in some way! Great speakers have an amazing talent that I often wish I had, to make you feel like you can do anything if you just try! Even though you probably have a few people in your life that can make you feel the same way, it's more powerful when they work in the same field as you. Educators who tell their stories can make other educators feel like what they do is worth it! We need to feel that way in our, often under appreciated, career choices. 4. Get Away✈️My favorite conference is FETC, usually in Orlando, Florida. Besides being my hometown, it's an amazing place to go to in January! Usually it's pretty warm and they don't call it the Sunshine State for nothing. 😎 Jimmy Buffet was right about "changing your latitude to change your attitude"! Going to a conference may not be a "vacation" per say, but having a break from your normal routine can do wonders for your mindset for the rest of the school year. If you are married with small kids, just getting a full nights rest can be the biggest game changer of all! Not to mention being with other educators so your spouse/significant other doesn't have to try to sympathize with your venting after work either. What ever your situation, you will find some benefits in getting away! 5. Change Your Mindset🧠One of the longest lasting benefits of going to conferences would be changing your mindset! You might come back so inspired that you are ready to conquer the world (or your classroom), or your return with the validation you needed to continue what you were already starting to do in your classroom. You might also have the tools and research you need to share with your administration so they can implement new things that teachers and students need. You may even return with the confidence you needed to be able to present what your learned to the staff in your building. Whatever it may be, you will be better prepared to support your students (or teachers) for the duration of the school year! So if you've read this far and you are ready to go to a conference right now, check out the resources below to see if you can find a conference to attend! Where Do I Start?
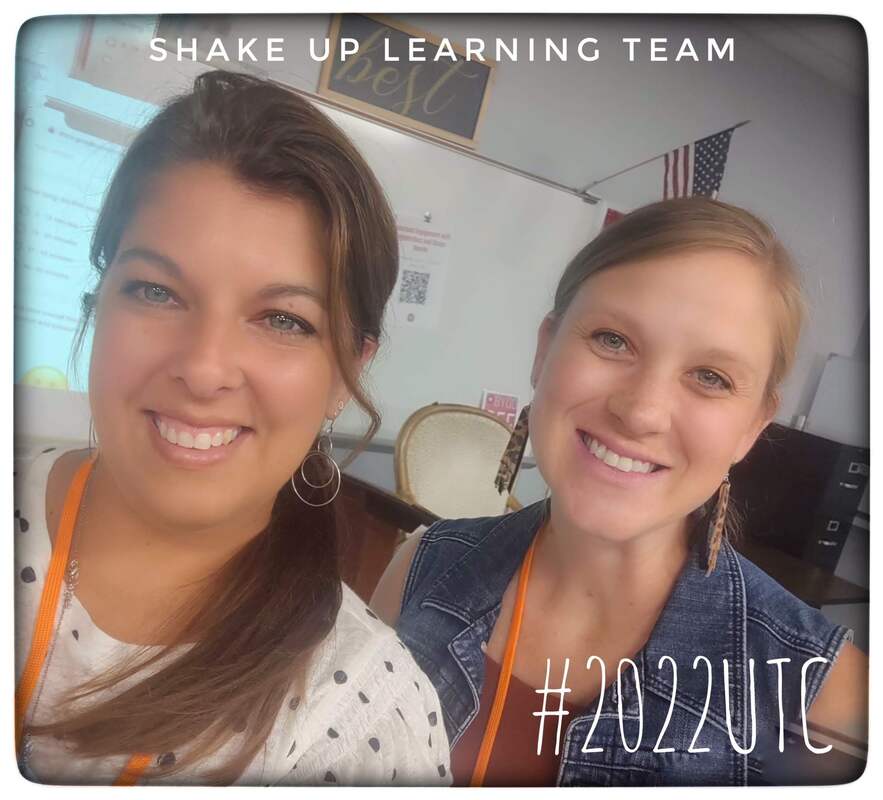
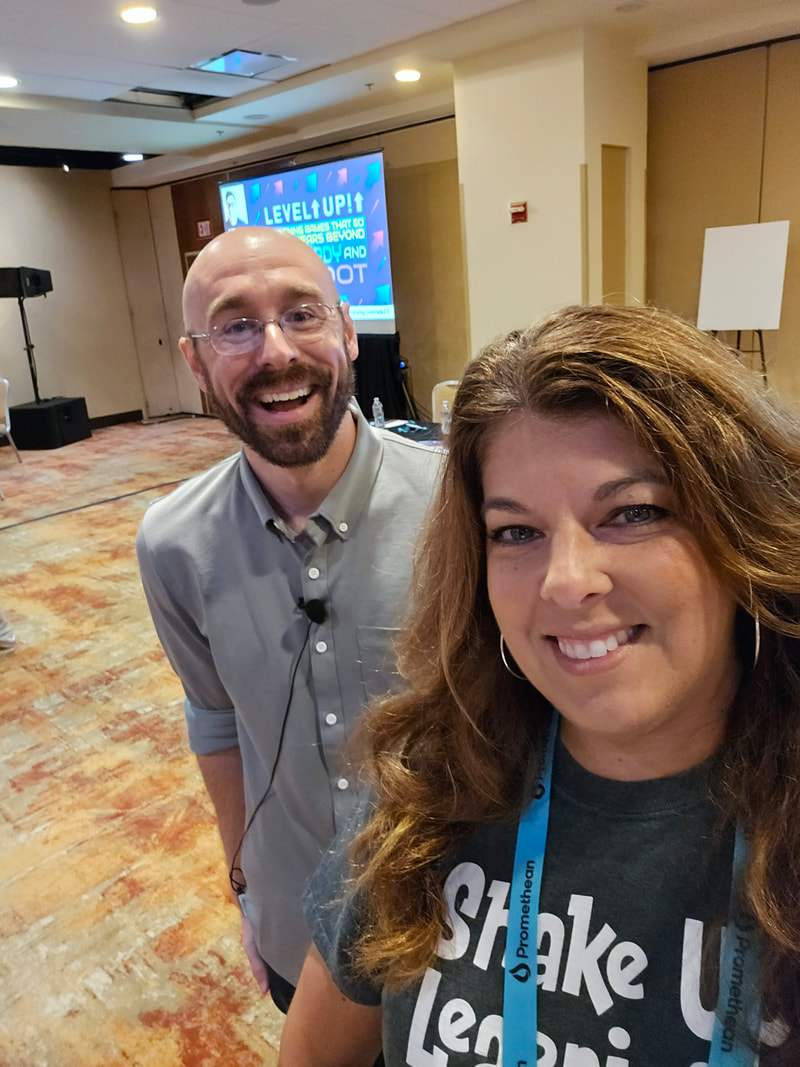
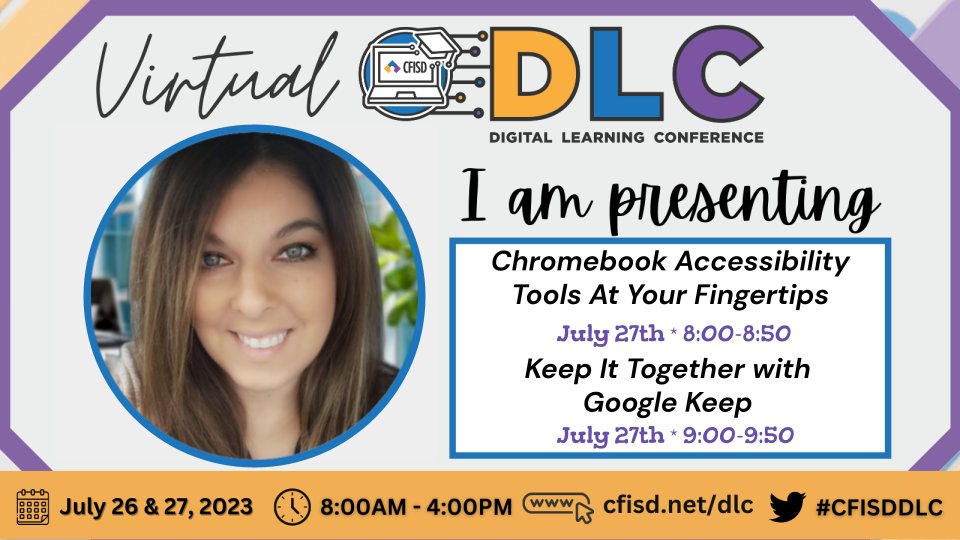 Resources...I'm super excited to be a part of the CFISD Digital Learning Conference this year with a couple of my Shake Up Learning Team members, Kasey Bell and Sarah Kiefer. This post is to easily share my resources from the session. Reach out if you have any questions!
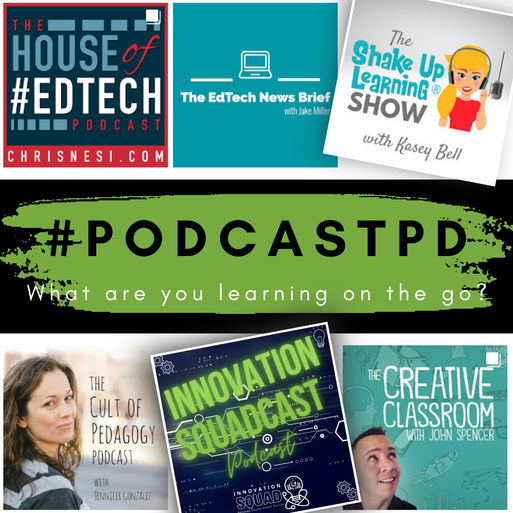 I admit it... There was a time during all the Covid craziness that I stopped listening to Podcasts for educational purposes. Maybe the world was just so distracting, I couldn't take in anything new? Maybe it was just too hard to plan ahead because of how quickly things were changing in schools? I can't really explain it, but I've heard other educators say the same thing, so I realized I wasn't the only one! I did, however, find myself looking for Podcasts on topics based on my hobbies and self-care, which is apparently what I really needed. I'm sure you can relate! After our #PD4uandme chat not too long ago, I realized that it was time to go through my Podcast subscriptions and share my current favorites with educators like me. As of right now, these are my top --- favorites.
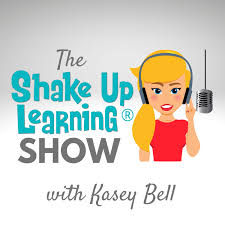
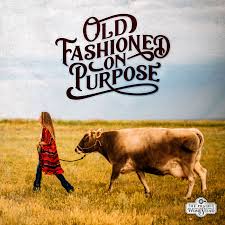
The team I work with has a podcast that you can view on Youtube or listen wherever you like to learn. Give us a listen and let us know if you want to join us! Those are my favorites right now. I'd love to hear what your favorites are! Please tag me on social media or comment on this post. Personal Interest Podcasts ...We moved out to a farm property outside of Charleston, so I've started getting into some new hobbies. We even have chickens, ducks, and a dog now! You may not be interested in homesteading, essential oils, self care, or Christian inspiration, but I thought I'd share for those of you that might be! Here are my top 3!
|

AuthorI'm an Innovative Learning Coordinator in Berkeley County South Carolina and a Google Certified Trainer. Archives
April 2024
Short Cuts
All
|


 RSS Feed