 Planning for the 20-21 School YearOne thing we all have in common right now is that we have NO IDEA how to plan for this year. While chatting with some educator friends last week, we decided it's a no-checklist kind of year. Don't get me wrong, we'll have tons on our to-do list, but there isn't a checklist to follow to make back to school easy because no one has done it before! So here's my attempt at making this year less painful... As a coach, I'm trying my hardest to gather things that will help my teachers through an interesting mix of face-to-face and virual learning. They were just getting the hang of the virtual part, then we had to throw in the face-to-face part. That's out of our control, so we are going to try to make the best of it! My first thought was to help them create a workflow to their day so they aren't "live" all day, but they can include their virtual students during the most important times. Below are some guiding questions I found from NIET that might help with the planning process. In our school, we'll also be setting up a clickable schedule where teachers and students can click on the link they need at the right time to join a live meeting with their class. To start with, we'll be setting up a morning, mid-day, and afternoon time that's required. The rest of the live times (since you can't always plan the best teachable moments) will be linked in Google Classroom for easy acces. I'll be posting more after we officially start school to try it out. Guiding Questions for Planning Virtual Lessons✅ Helpful Resources:Google has been sharing a ton of resources to help educators make the best of our current situation and new trends that have surfaced to meet the needs of our students. Here are a few that can be shared with families since they will be in this with us. I'm thinking these would be great to share in your first newsletter or virtual introduction for the year. If you are a GSuite district, there are tons of tools you can use to help make your instruction easy to navigate whether or not you are face-to-face, virtual, or a mix of both. Here are the tools & Extentions I have found really useful since last March when all this started. 📅 Google CalendarGoogle Calendar can be a life saver for you when you are working in a digital enviroment. Using calendar events with a Google Meet link can make it much easier to keep track of time. I have notifications settings for anywhere from 15 to 5 minutes before an event to make sure I stay on schedule. Here are a few posts and resources that might help you if this sounds like something that will help your workflow (including a link to my post on surviving remote learning). 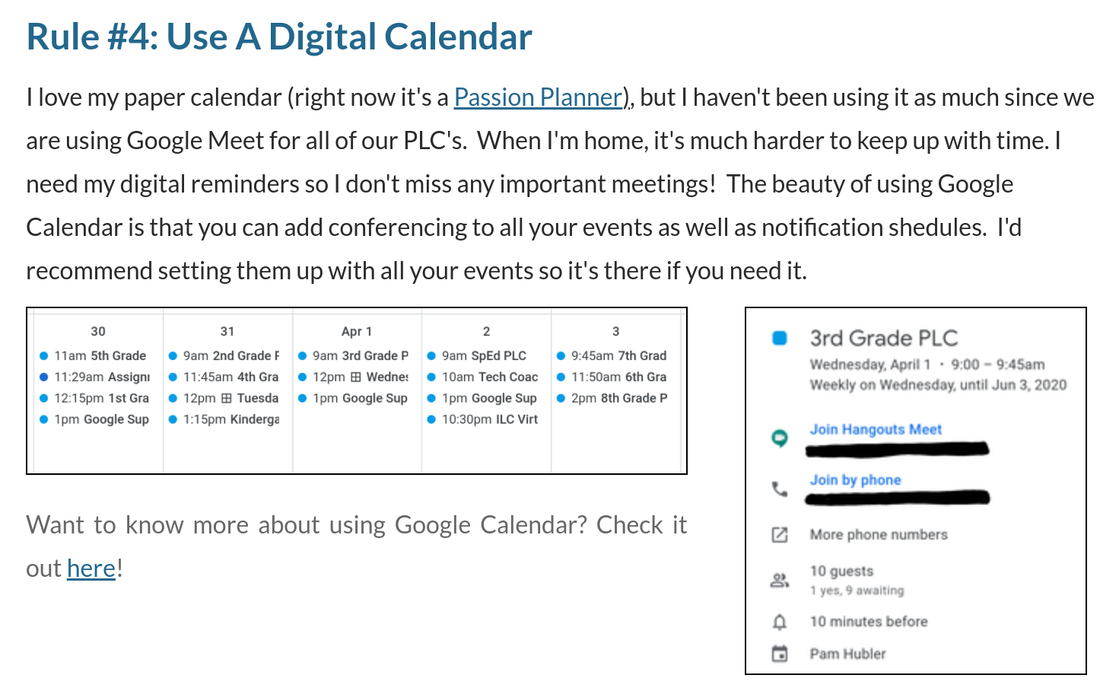 Screenshot from my post "5 Rules for Surviving Remote Learning" 🎥 Google MeetThere's a few different ways to use Google Meet. Right now, the safest way to use it with students is to either go to meet.google.com and create a nicknamed meet from there, or use the Google Meet link in Google Classroom (which also serves as a nicknamed meet where students can't join without the teacher). Below I've linked Eric Curts Google Meet series so you can choose what you need to know. 🖼️ Google SlidesGoogle Slides is one of my favorite Google tools! It's not just about making presentations pretty, but making them effective and engaging. Some of the ways you can use Google Slides to help you teach right now can include:
👩💻 Google ClassroomI won't even try to create my own resources for Google Classroom tutorials when I have access to Kasey Bell's resources! Check out all that she has to offer here. Also, she has an amazing Google Classroom Master class (that I've taken myself) that includes EVERYTHING you would need to know, and then some. If you are new to Google Classroom, do yourself a favor and take this course (which is on sale right now, because she's awesome like that)! Here's the link to the course if the free resources linked above isn't enough for you. Another thing I'd recommend is to listen to her latest Podcast on "How to Create Google Classroom Blended Learning Lessons" (part 3 of a great back-to-school series). 🖱️ExtensionsSome of my favorite extensions to use with the apps mentions above are linked below.
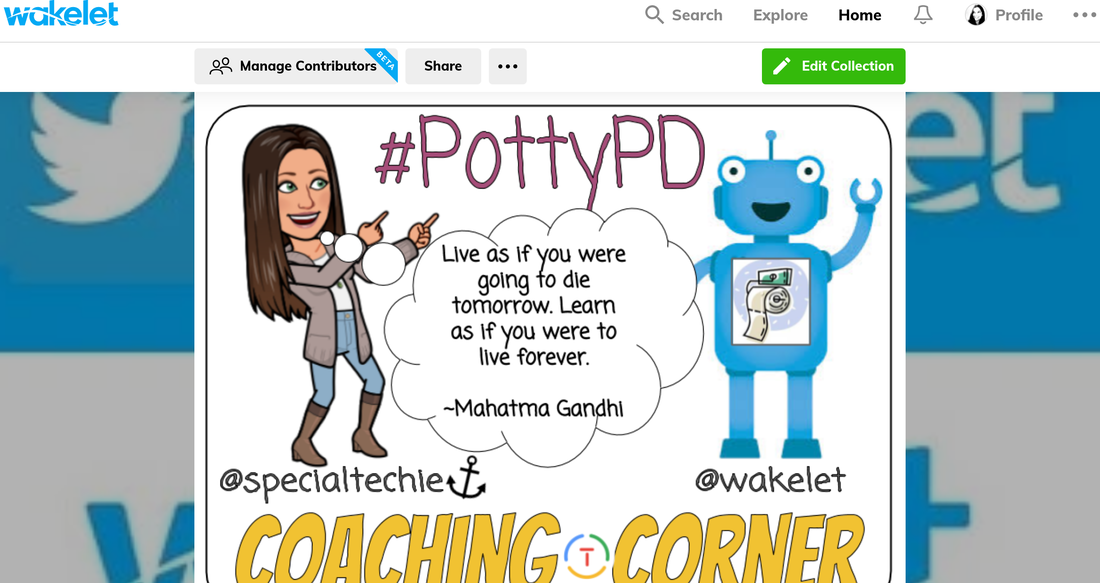
🔗 Wakelet, Edpuzzle, SeeSaw, and FlipgridThese aren't Google tools, but they are sites we will be using a lot this year! As I've mentioned before, I use Wakelet for my #PottyPD and our school newsletter. We also started using it as a "hub" for lesson plans. Here's a post on some of the many ways you can use Wakelet. Flipgrid is an amazing tool to keep your kids engaged and seeing each other even if they aren't in the school building with you. One of my favorite app smashing ideas is to start your Wakelet off with a Flipgrid short (embeded in Wakelet alread) to add your personality into your Wakelet collections. Want to know more about Flipgrid? You can check out the tons of resources already created for educators here. SeeSaw! I haven't used SeeSaw myself much, but I know our K-2 teachers LOVE it! We bought a subscription for our teachers to use this year and they are super excited! I'll be able to share more on how we use it soon. In the meantime, check out their resources for educators here. 💡It's about the instruction & pedagogy, not just the tool!As with any technology integration, you have to think about the purpose before you pick the tool. Here's a Toolkit from Shake Up Learning that will help you plan engaging lessons regardless of the tools you choose to support "Dynamic Learning" in your classroom. Just make sure to not overwhelm yourself and keep self-care on your calendar. I'd also love to hear what you are doing to try to keep yourself same this year. Tag me on Twitter or comment below with you thoughts! ~Pam
2 Comments
If you are anything like me, you love a good Youtube or GIF tutorial! I've found a lot of good ones while we've been teaching from home due to quarantine. One of the most popular projects I've seen is the "Virtual Classroom" or Bitmoji Scenes using Google Slides and your Bitmoji. I'm pretty creative, but I couldn't figure out how people made the backgrounds. I don't know about you, but I never think about changing the background of my Google Slides by using the Google image search option. Yep... it's that simple!  A YouTube tutorial was shared with me on Twitter by Ms. K Rachel Aarons and I was shocked to see how easy it was! Lindsay Toub also shared a super helpful Wakelet Collection to help you create your own. Check it out below!
Adding Room Accessories to Your Virtual ClassroomWhile I was playing with my virtual office/classroom, I found room accessory clipart that were all in one image. They all matched, so I liked the idea of having these off to the side of my Slides template so I could drag and drop them as needed. I made a quick GIF on how to do this so you can add them individually without having to screenshot them one at a time. I also have my template linked in the button below if you want to start with mine. Other fun Google Slides Creation tutorials...Once you are done creating your own virtual classrooms or Bitmoji scenes (which I spent hours playing with), here are a few more fun tutorials I've found to be really helpful to step up my creativity in Google Slides! Resource: How to create a neon glow effect in Google Slides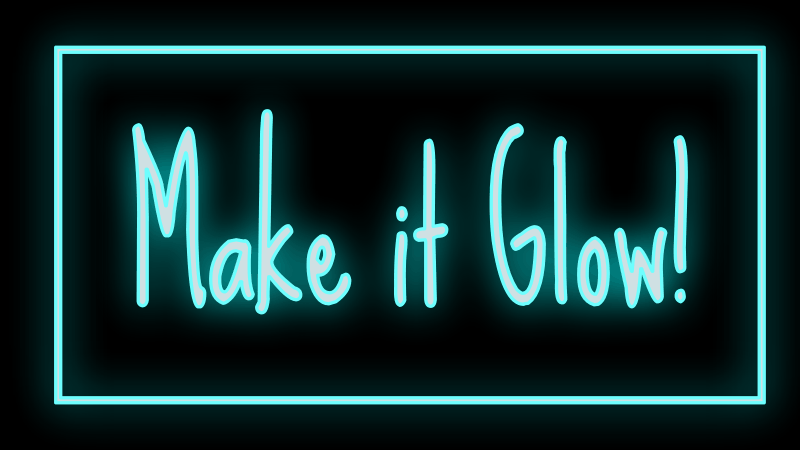 GIF created by SlidesMania Resource: How to Create Stickers using Google Slides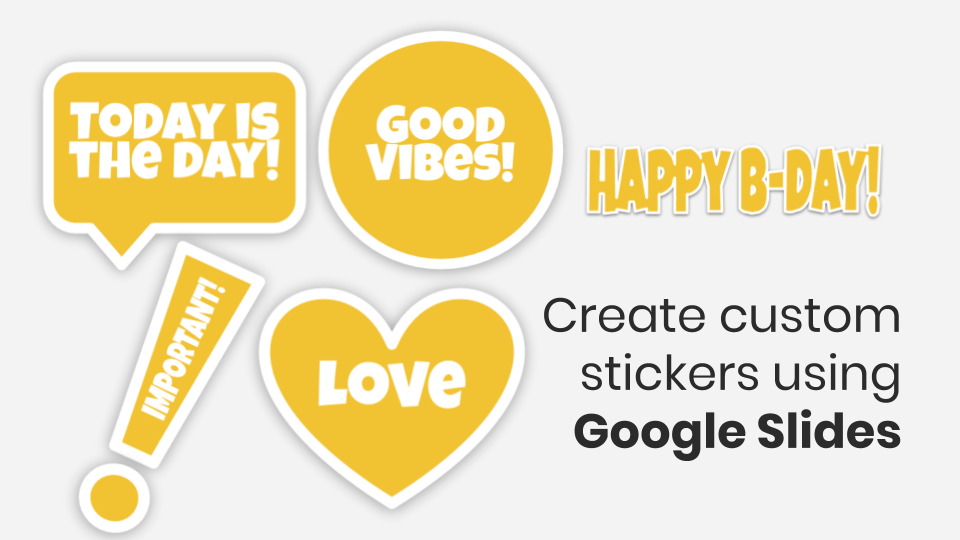 Image created by Slidesmania Resource: Bitmoji Fun! If you want to explore more ways to use your Bitmoji, check out my friend Jen Hall's site TechTips411! The "Freindmoji" cheat sheet alone will make it worth your time! If you haven't created a Bitmoji yet, try it today! Then add the Bitmoji extension to your Chrome web browser to add some fun to your blog posts, presentations, and other classroom resources. Google Slides Master Class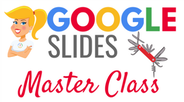 The last resource I want to share is the Google Slides Master Class created by Shake Up Learning. I've taken quite a few of her courses and they are all amazing! Right now, they are 50% off to help schools during closures. Here's a link where you can sign up for the course today. If you sign up with the link below, I will get a small percentage as a thank you for sharing her courses. I have bought and participated in her courses many times, so I promise it's worth it. Happy creating! Please tag me in your creations when you're done! ~PamCoaching Choice BoardSince so many people outside of education have asked what I do as an "Instructional Coach", I figured a lot of teachers didn't really know what I did either! It turns out, I was right! Elementary school teachers are usually more familiar with the role an Instructional Coach plays in their schools, but not as much in Middle School. To help clarify, I decided to take our district job assurances and make them public so teachers knew what was required of me on a daily basis. I took it a step further and made a "Choice Board" for my "services" so teachers had some ideas of how I can help them and/or their students. This isn't a long post, I just wanted to share my resources in case someone else wanted to do the same for the schools they serve. This is a time consuming process and I genuinely feel like #sharingiscaring! I have my Google Slides Choice Board featured below. Click the link below the image to make a copy for yourself! 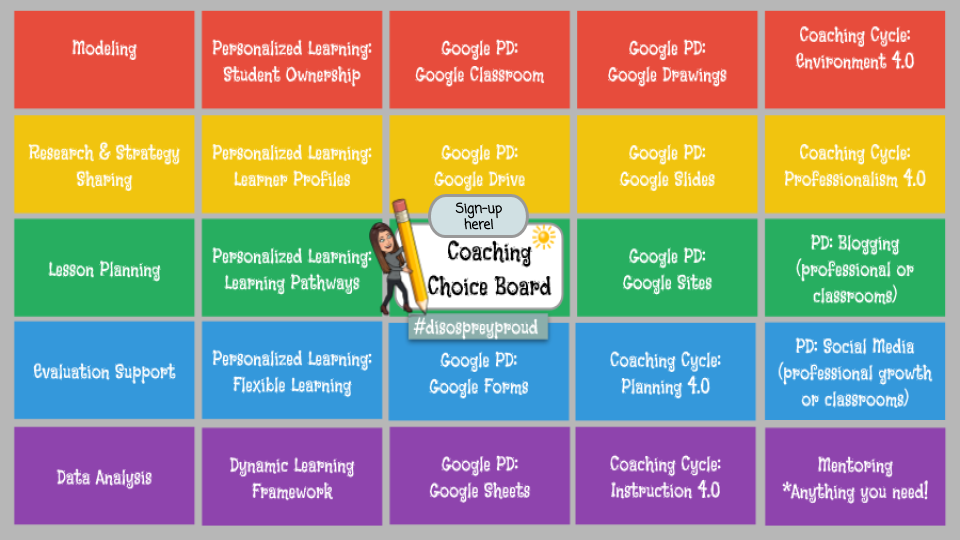 Directions have been placed in the speaker notes on page 1 of the template so you can change the background to work for you. The Google Drawing background template can be found here .
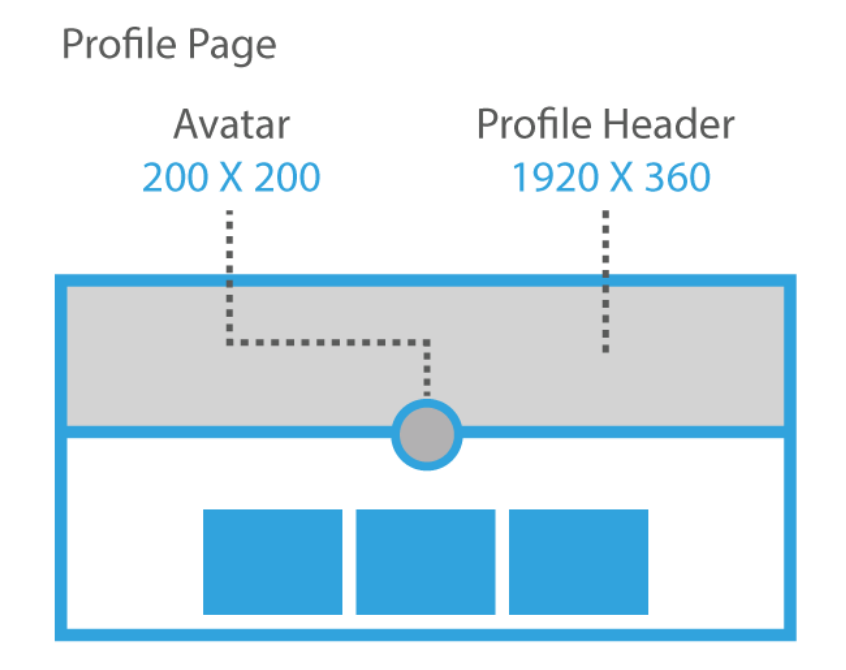
 It's Easier Than You Think!So... I'm taking Tony Vincent's Classy Graphics class. It is actually the course that was held this Winter, but I'm just now getting to it. 😏 That's the beauty of his Google Classroom courses... they stay open! The assignments are way passed the due date, but I can still turn them in, get feedback, and see what others have turned in. Of course, it would be much more engaging if I did it when everyone else did, but I'm still learning from everyone in the class (even if they don't know it). I could try to explain the tips and tricks to creating these templates, but it's best to take the course and learn from the man himself! You can find out more about his courses here. Here's what I've created so far... Google Classroom HeaderAlthough Google Classroom header images don't show up as well as you would like them too (hopefully Google will change that soon), I suggest using bright colors with a light background so it will still show up once auto color happens. Some of the templates are colored already if you want to use them. If you want to change the colors, you may want to "ungroup" the shapes first by click the image, then "arrange", then "ungroup". Just be careful not to move them while they are ungrouped if you want to keep them aligned. When you are done, you can "select all", click "arrange", then "group" to move them around at one time. Once it looks the way you want, download the image as a PNG and save it. When you go to Google Classroom, you click "upload photo" and adjust it as necessary. The images below are what it would look like as a PNG and added to a Google Classroom.  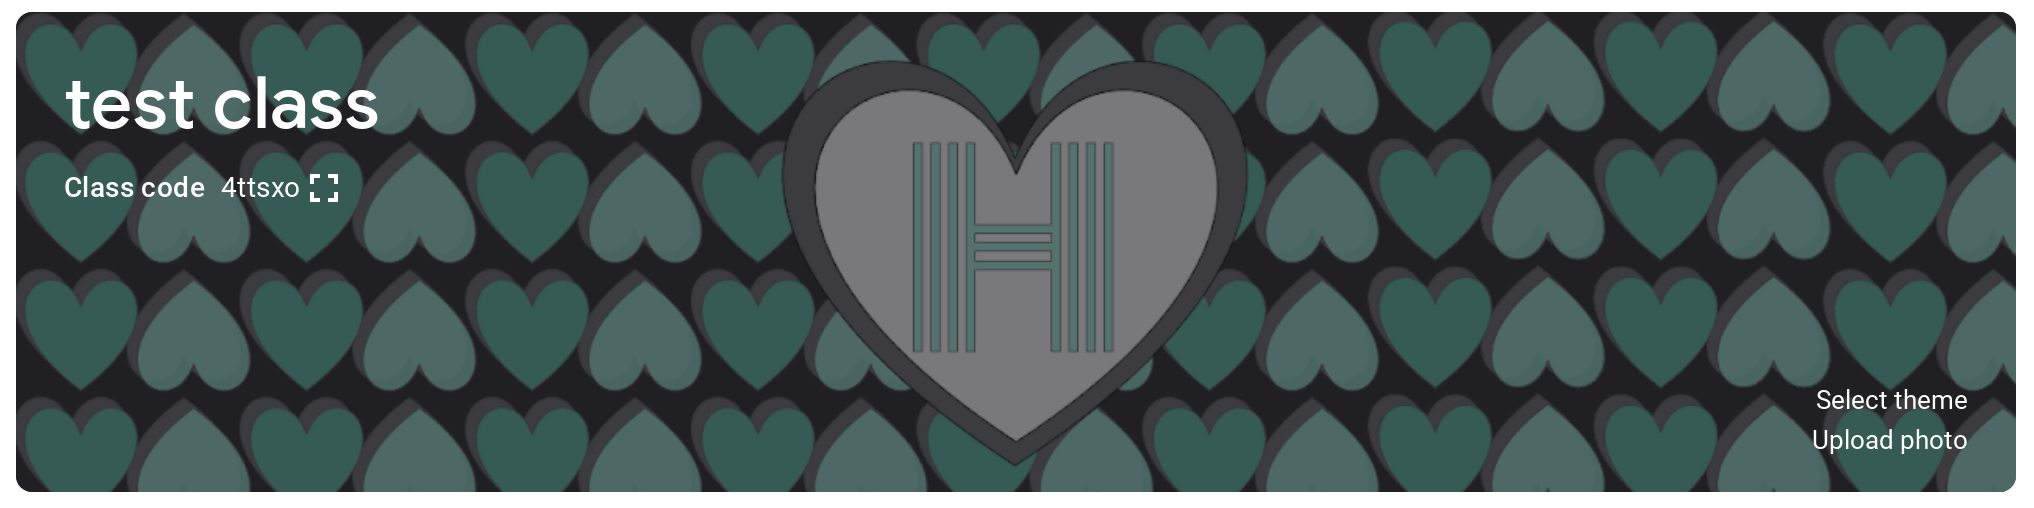 As you can see, the image darkens quite a bit. My background is transparent here, so you could try making it white if you want it brighter. I like to use a "test class" for trying out new headers and the different features of Google Classroom. I also add my own children into the classes so I can log in as them to see what it looks like from the student side. Twitter Cover Photo TemplateI LOVE Twitter for connecting & sharing with other educators! Using a personalized header gives you a chance to show who you are quickly and the options are endless here! The best part about using Google Slides & Google Drawings to create headers is that you can add as much information as you want without worrying about formatting and spacing. I would suggest using this template to create as many as you want, then save each of them as a PNG. You may want to create a folder to keep the PNG files in one place so it's easy to access! Mine is simply called "Twitter Covers".  Wakelet Header, Background & Cover TemplatesI use Wakelet A LOT, so I figured this would be a valuable use of time for me. The profile header and the cover images are probably the ones I personalize the most. The background is covered in the middle, so you only see the right and left side of the image, so the library images are usually fine to use. You don't even really need to use them, but I like having an added visual element to the back of my Wakelet Collections. Another thing to keep in mind is the different options for the cover image. You can choose between full cover, half cover, or hide cover. I usually choose half cover so it doesn't take up too much room at the top of my collections, but this example is a full cover. When you design your own, you may want the keep the top and bottom simple so it isn't cut off if you use the half cover option. If you don't use Wakelet (yet) and want to know more, check this collection out for resources to get you started.
COLOR!This was my favorite section of the course! I won't give too many secrets away from Tony's course, but here are some of my favorite sites I used to find the perfect color choices. Careful... you can spend a lot of time on this. 😍
Student "Play of the Week" with Google Slides
|

AuthorI'm an Innovative Learning Coordinator in Berkeley County South Carolina and a Google Certified Trainer. Archives
April 2024
Short Cuts
All
|


 RSS Feed