Daily Tracker Template 23-24 School Year!For years, I've been using a Google Sheet as a calendar/tracker for work. It started as a requirements as a coach so we could see where we spent our time, then became an amazing planning tool for myself. I use this document to plan out everything I do! I use a calendar as well, but I find it easier to make tentative plans and link my own to-do list in one place that I can access from all my devices. Want a copy? Click the button below and select "Use Template" at the top right hand corner. Tag me on social media if you have any ideas or want to share how you personalize it! 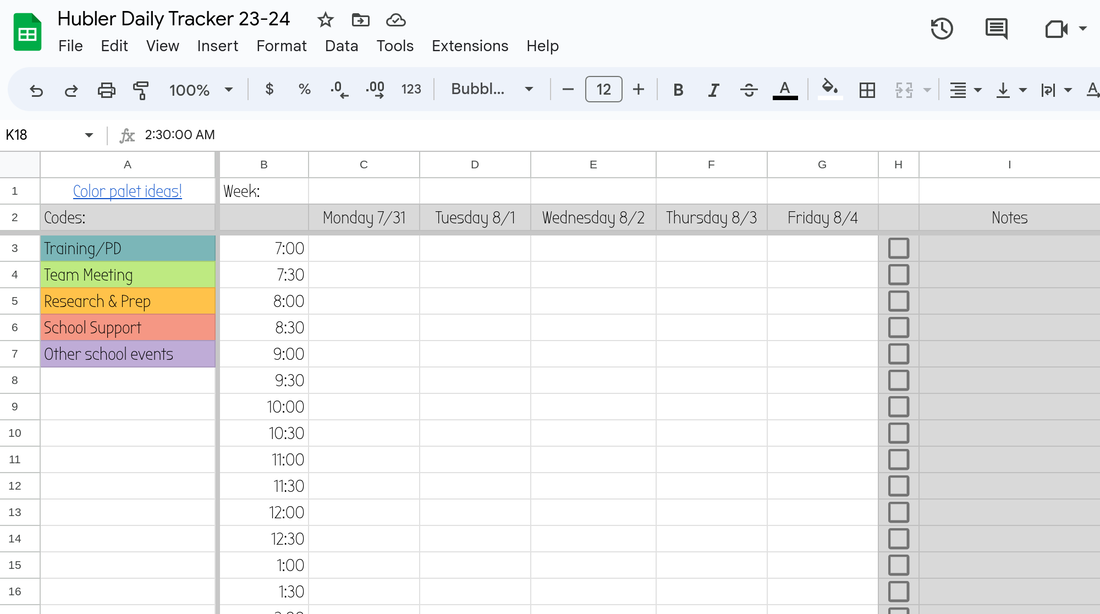 Check out the original blog post here.
2 Comments
I know this isn't the type of post I usually write, but when I read the article "Are Teachers Okay, No, and Toxic Positivity isn't Helping", I was so upset, I figured I couldn't be the only one who took it personally. I've also had this blog post in my drafts for almost a year, but keep going back to it when I hear the phrase again. I am NOT saying that teachers are okay, because some of the current situations in education are far from ideal. I'm just saying the term "Toxic Positivity" is a buzz word that isn't helping either. Here me out...In the article it says, " When someone says to you, “it could be worse” or “look on the bright side,” they might mean well, but what they are saying is an example of toxic positivity. Toxic positivity is when we focus on the positive and reject, deny, or displace the negative. In theory, it sounds like being optimistic, but in reality, pushing aside our unpleasant emotions only make them bigger." My rebuttal is that saying those positive phrases has situational implications. If I'm talking to a brand new teacher who is about to quit... I'm NOT going to say those things. If I am talking to an experienced teacher who is just frustrated, we might have the "What's going well?" conversation (after I've truly listened of course). As a positive person by nature, I tend to use phrases thinking more of the power of "yet" in order to get through the day as a coach. If I focused on the negative all day, I wouldn't help a soul move into a better head space. I'm calling "fixed mindset" here. And now... I've made some people mad. Growth Mindset TipsThese tips were suggested and I agree with most of them, but I want to rephrase them in a more self-care and growth mindset kind of way. These aren't new tips and aren't because of "toxic positivity", they are really because educators are the hardest working people I know! 1. Stop showing up early and staying late. Instead: Prioritize your day so you don't burn out. 2. Stop taking work with you everywhere you go. Instead: If you bring things with you, make sure it's only because it will make your daily life easier and more enjoyable. 3. Stop saying yes to more work because you feel like you should. Instead: If it brings you joy, say yes. If it doesn't, say no. 4. Rewrite the story: the teacher martyr work 24/7 narrative has got to go. Instead: Go back to prioritizing your day so you don't end up working 24/7. 5. At the end of the day, teaching is a job, and it’s okay to see it that way. Instead: Teaching is a calling and if it doesn't bring you joy, you may want to rethink your career choices. *That may sound harsh, but if you don't love it (most days), then it's okay to change your path so your job brings you joy. So now what?...Resources to help change the script!
Thanks for taking the time to read this post. I'd love to hear your thoughts!
I hope you find at least one resource that can help to add a bit of joy to your every day life! ~Pam @specialtechie 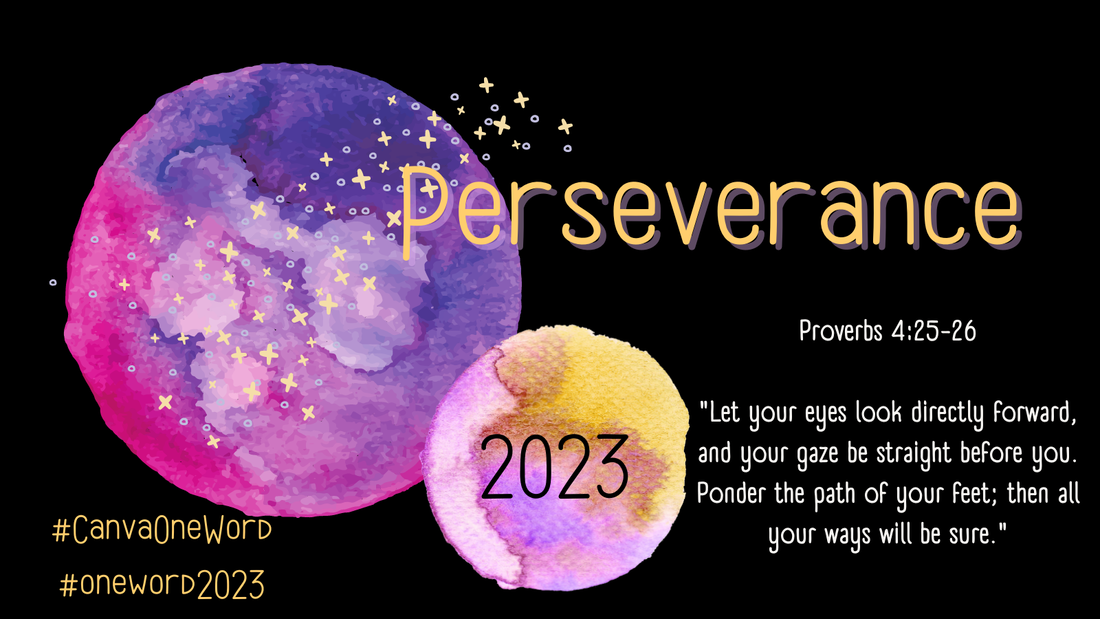 Happy New Year!I have been horrible at blogging the last couple of years. During all the lock-downs and new-norms in education, I found myself learning about things outside of education. We moved onto a 278 acre property, so homesteading has become a new interest for me. That includes farming, cooking at home more, and getting chickens! I even created a second Instagram account (@dottera_pam) just for my new interests so I wouldn't mix my work and personal world together. Do you ever want to just scroll through social media and ONLY see non-work related stuff? We have to detach from our day jobs sometimes, right? PerseveranceMy word for the year came from having to do hard things and sticking with them. My word of the year has served me well in the past, so I thought Perseverance would be appropriate when thinking of how to focus on what's important, especially when it's hard. Your word in the six parts of your life...1. Spiritual -Focus on my verse for the year to help me stay on the right path. 2. Physical- Focus on my workout and food prep goals to help me be more comfortable in my skin. 3. Mental- Focus on my goals and plan my days around them. 4. Relationships- Focus on my most important relationships. 5. Emotional- Focus on ways to persevere when I'm challenged emotionally (which goes back to my verse for the year). 6. Financial- Focus on our financial goals to keep stress about money from creeping into our lives. One Word Recap! 2018... FINISH *blog post
2019... Resilience *blog post 2020-2021... Simplify 2022... Strength It all started with this book! Check it out if you want to give the One Word Challenge a try and add your thoughts to the comments below! May this year be your best year ever! ~Pam Daily Tracker 22-23 Update!I've had some requests for the latest version of my daily tracker, so here's the updated version for 22-23! Click the image below for the template link so you'll have your own copy. If you want to read the original post, click the button below the image. Enjoy! 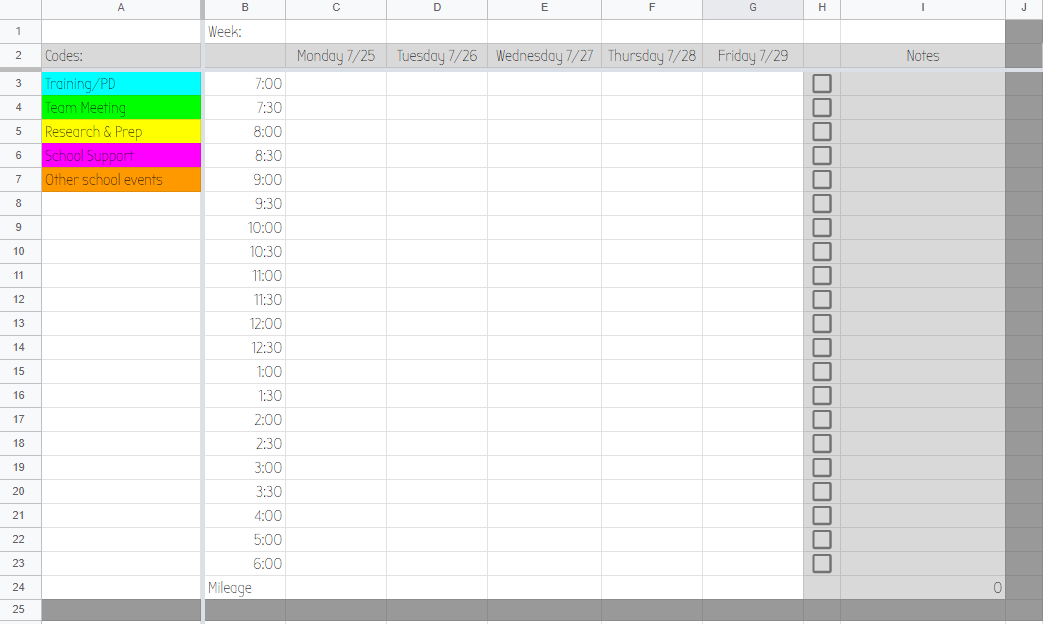 |

AuthorI'm an Innovative Learning Coordinator in Berkeley County South Carolina and a Google Certified Trainer. Archives
April 2024
Short Cuts
All
|
 RSS Feed